Adobe AppsAdobe应用程序
Photoshop, InDesign and other Adobe Creative Suite applications offer extension support. Photoshop、InDesign和其他Adobe Creative Suite应用程序提供扩展支持。 Over the years there have been a few different JavaScript platforms:多年来,出现了几种不同的JavaScript平台:
-
"ExtendScript": This uses an old JavaScript dialect but is supported in older versions of Creative Suite and Creative Cloud.“ExtendScript”:它使用一种旧的JavaScript方言,但在较旧版本的Creative Suite和Creative Cloud中受支持。 -
"CEP"
: This was recommended in CS6 but eventually deprecated.:这在CS6中被推荐,但最终被弃用。 -
"UXP"
: This is the current Adobe recommendation for new CC extensions.:这是Adobe当前对新CC扩展的建议。
This demo intends to cover the SheetJS-related parts. 本演示旨在介绍SheetJS的相关部分。General setup as well as general Adobe considerations are not covered here. 这里不包括一般设置和一般Adobe注意事项。A basic familiarity with extension development is assumed.假设基本熟悉扩展开发。
ExtendScript Scripts
Installation is straightforward:安装很简单: download a script and move it to your project directory.下载脚本并将其移动到项目目录。
Reading Files读取文件
XLSX.readFile can directly accept an absolute URI:可以直接接受绝对URI:
var workbook = XLSX.readFile("~/Documents/test.xlsx");
The path can be user-configurable using 用户可以使用File.openDialog:File.openDialog配置路径:
/* Show File Picker */
var thisFile = File.openDialog("Select a spreadsheet");
if(!thisFile) { alert("File not found!"); return; }

/* Read file from disk */
var workbook = XLSX.readFile(thisFile.absoluteURI);
Complete Example完整示例 (click to hide)
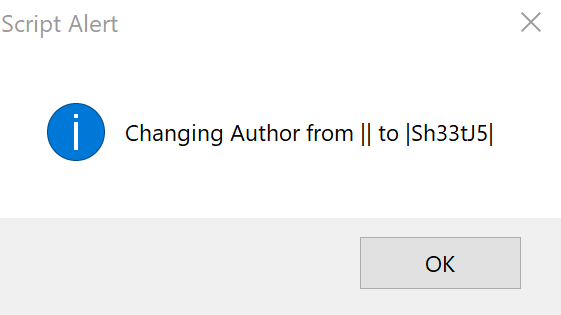
In this example, the script will show a dialog to select a file. 在本例中,脚本将显示一个选择文件的对话框。After reading the file, the workbook Author property will be extracted and the Photoshop doc author (读取文件后,将提取工作簿作者属性,并相应更改Photoshop文档作者(activeDocument.info.author) will be changed accordingly.activeDocument.info.author)。
This demo was verified in Photoshop CS6 64-bit on Windows 10.此演示已在Windows 10上的Photoshop CS6 64位中验证。
#target photoshop
#include "xlsx.extendscript.js";

function main_parse() {
  /* Show File Picker */
  var thisFile = File.openDialog("Select a spreadsheet");
  if(!thisFile) { alert("File not found!"); return; }

  /* Read file from disk */
  var workbook = XLSX.readFile(thisFile.absoluteURI);

  /* Get Workbook Author */
  var Props = workbook.Props; if(!Props) { alert("Missing Author!"); return; }
  var Author = Props.Author; if(!Author) { alert("Missing Author!"); return; }

  /* Change Document Author to Workbook Author */
  var info = activeDocument.info;
  alert("Changing Author from |" + info.author + "| to |" + Author + "|");
  info.author = Author;
}

main_parse();
0) Download the test workbook.下载测试工作簿。
1) Download the following scripts:下载以下脚本:
and place in the scripts directory. 并放置在scripts目录中。For CS6 Windows 10 the path is typically对于CS6 Windows 10,路径通常为
C:\Program Files\Adobe\Adobe Photoshop CS6 (64 Bit)\Presets\Scripts
2) Restart Photoshop and open a file (or create a new one)重新启动Photoshop并打开文件(或创建新文件)
3) File > Scripts > parse and select the test workbook文件>脚本>解析并选择测试工作簿
4) An alert will confirm that the file was read and the author will be changed:警报将确认文件已读取,并且作者将更改:
5) File > File Info... should show the updated Author field!文件>文件信息…应该显示更新的作者字段!
Writing Files写入文件
XLSX.writeFile can directly accept an absolute URI:可以直接接受绝对URI:
XLSX.writeFile(workbook, "~/Documents/test.xlsx");
The path can be user-configurable using 用户可以使用File.saveDialog:File.saveDialog配置路径:
/* Show File Picker */
var thisFile = File.saveDialog("Select an output file", "*.xlsx;*.xls");
if(!thisFile) { alert("File not found!"); return; }

/* Write file to disk */
XLSX.writeFile(workbook, thisFile.absoluteURI);
Complete Example完整示例 (click to hide)
In this example, the script will show a dialog to select an output file. 在本例中,脚本将显示一个选择输出文件的对话框。Once selected, the library will create a new workbook with one worksheet. 选中后,库将创建一个包含一个工作表的新工作簿。Cell A1 will be "Author" and cell B1 will be the active Photoshop document Author. 单元格A1将是“作者”,单元格B1将是活动的Photoshop文档作者。The PS author is available as PS author可以作为activeDocument.info.author.activeDocument.info.author使用。
This demo was verified in Photoshop CS6 64-bit on Windows 10.此演示已在Windows 10上的Photoshop CS6 64位中验证。
#target photoshop
#include "xlsx.extendscript.js";
function main_write() {
/* Show File Picker */
var thisFile = File.saveDialog("Select an output file", "*.xlsx;*.xls");
if(!thisFile) { alert("File not found!"); return; }
/* Create new Worksheet */
var ws = XLSX.utils.aoa_to_sheet([
["Author", activeDocument.info.author]
]);
/* Create new Workbook and add worksheet */
var wb = XLSX.utils.book_new();
XLSX.utils.book_append_sheet(wb, ws, "Sheet1");
/* Write file to disk */
XLSX.writeFile(wb, thisFile.absoluteURI);
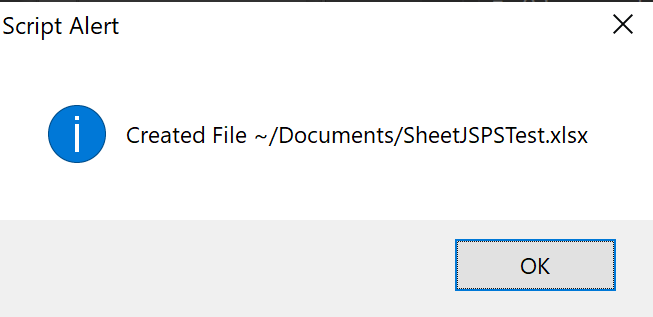
alert("Created File " + thisFile.absoluteURI);
}
main_write();
1) Download the following scripts:下载以下脚本:
and place in the scripts directory. 并放置在scripts目录中。For CS6 Windows 10 the path is typically对于CS6 Windows 10,路径通常为
C:\Program Files\Adobe\Adobe Photoshop CS6 (64 Bit)\Presets\Scripts
2) Restart Photoshop and open a file (or create a new one)重新启动Photoshop并打开文件(或创建新文件)
3) File > File Info ... and confirm there is an Author. 文件>文件信息…并确认有作者。If not, set to 如果不是,则设置为SheetJSSheetJS
4) File > Scripts > write and use the popup to select the Documents folder. 文件>脚本>写入并使用弹出菜单选择Documents文件夹。Enter 输入SheetJSPSTest.xlsx and hit "Save"SheetJSPSTest.xlsx并点击“保存”
4) An alert will confirm that the file was created:警报将确认文件已创建:
5) Open the generated 打开生成的SheetJSPSTest.xlsx file and compare to Photoshop authorSheetJSPSTest.xlsx文件,并与Photoshop author进行比较
CEP
The standalone scripts独立脚本 can be added to CEP extension HTML可以添加到CEP扩展HTML
UXP
UXP officially recommends UXP正式推荐require and NodeJS Modules for third party support.require和Node.js模块用于第三方支持。