Using Preload Scripts使用预加载脚本
This is part 3 of the Electron tutorial.这是Electron教程的第3部分。
Learning goals学习目标
In this part of the tutorial, you will learn what a preload script is and how to use one to securely expose privileged APIs into the renderer process. 在本教程的这一部分中,您将了解什么是预加载脚本,以及如何使用预加载脚本将特权API安全地公开到渲染器进程中。You will also learn how to communicate between main and renderer processes with Electron's inter-process communication (IPC) modules.您还将学习如何使用Electron的进程间通信(IPC)模块在主进程和渲染器进程之间进行通信。
What is a preload script?什么是预加载脚本?
Electron's main process is a Node.js environment that has full operating system access. Electron的主要进程是一个具有完全操作系统访问权限的Node.js环境。On top of Electron modules, you can also access Node.js built-ins, as well as any packages installed via npm. 在Electron模块之上,您还可以访问Node.js内置模块,以及通过npm安装的任何软件包。On the other hand, renderer processes run web pages and do not run Node.js by default for security reasons.另一方面,由于安全原因,渲染器进程运行网页,默认情况下不运行Node.js。
To bridge Electron's different process types together, we will need to use a special script called a preload.为了将Electron的不同进程类型连接在一起,我们需要使用一个名为预加载的特殊脚本。
Augmenting the renderer with a preload script使用预加载脚本增强渲染器
A BrowserWindow's preload script runs in a context that has access to both the HTML DOM and a Node.js environment. BrowserWindow的预加载脚本在可以访问HTML DOM和Node.js环境的上下文中运行。Preload scripts are injected before a web page loads in the renderer, similar to a Chrome extension's content scripts. 预加载脚本是在网页加载到渲染器之前注入的,类似于Chrome扩展的内容脚本。To add features to your renderer that require privileged access, you can define global objects through the contextBridge API.要向渲染器添加需要特权访问的功能,可以通过contextBridge API定义全局对象。
To demonstrate this concept, you will create a preload script that exposes your app's versions of Chrome, Node, and Electron into the renderer.为了演示这个概念,您将创建一个预加载脚本,将应用程序的Chrome、Node和Electron版本公开到渲染器中。
Add a new 添加一个新的preload.js script that exposes selected properties of Electron's process.versions object to the renderer process in a versions global variable.preload.js脚本,该脚本在版本全局变量中将Electron的process.versions对象的选定属性公开给渲染器进程。
const { contextBridge } = require('electron')

contextBridge.exposeInMainWorld('versions', {
  node: () => process.versions.node,
  chrome: () => process.versions.chrome,
  electron: () => process.versions.electron,
  // we can also expose variables, not just functions
})
To attach this script to your renderer process, pass its path to the 要将此脚本附加到渲染器进程,请将其路径传递到浏览器窗口构造函数中的webPreferences.preload option in the BrowserWindow constructor:webPreferences.preload选项:
const { app, BrowserWindow } = require('electron')
const path = require('path')

const createWindow = () => {
  const win = new BrowserWindow({
    width: 800,
    height: 600,
    webPreferences: {
      preload: path.join(__dirname, 'preload.js'),
    },
  })

  win.loadFile('index.html')
}

app.whenReady().then(() => {
  createWindow()
})
There are two Node.js concepts that are used here:这里使用了两个Node.js概念:
The __dirname string points to the path of the currently executing script (in this case, your project's root folder).__dirname字符串指向当前正在执行的脚本的路径(在本例中,是项目的根文件夹)。The path.join API joins multiple path segments together, creating a combined path string that works across all platforms.path.join API将多个路径段连接在一起,创建跨所有平台工作的组合路径字符串。
At this point, the renderer has access to the 此时,渲染器可以访问全局versions global, so let's display that information in the window. versions,因此让我们在窗口中显示该信息。This variable can be accessed via 可以通过window.versions or simply versions. window.versions或简单的versions访问此变量。Create a 创建一个renderer.js script that uses the document.getElementById DOM API to replace the displayed text for the HTML element with info as its id property.renderer.js脚本,该脚本使用document.getElementById DOM API将HTML元素的显示文本替换为其id属性的info。
const information = document.getElementById('info')
information.innerText = `This app is using Chrome (v${versions.chrome()}), Node.js (v${versions.node()}), and Electron (v${versions.electron()})`
Then, modify your 然后,通过添加一个以index.html by adding a new element with info as its id property, and attach your renderer.js script:info作为id属性的新元素来修改index.html,并附加renderer.js脚本:
<!DOCTYPE html>
<html>
  <head>
    <meta charset="UTF-8" />
    <meta
      http-equiv="Content-Security-Policy"
      content="default-src 'self'; script-src 'self'"
    />
    <meta
      http-equiv="X-Content-Security-Policy"
      content="default-src 'self'; script-src 'self'"
    />
    <title>Hello from Electron renderer!</title>
  </head>
  <body>
    <h1>Hello from Electron renderer!</h1>
    <p>👋</p>
    <p id="info"></p>
  </body>
  <script src="./renderer.js"></script>
</html>
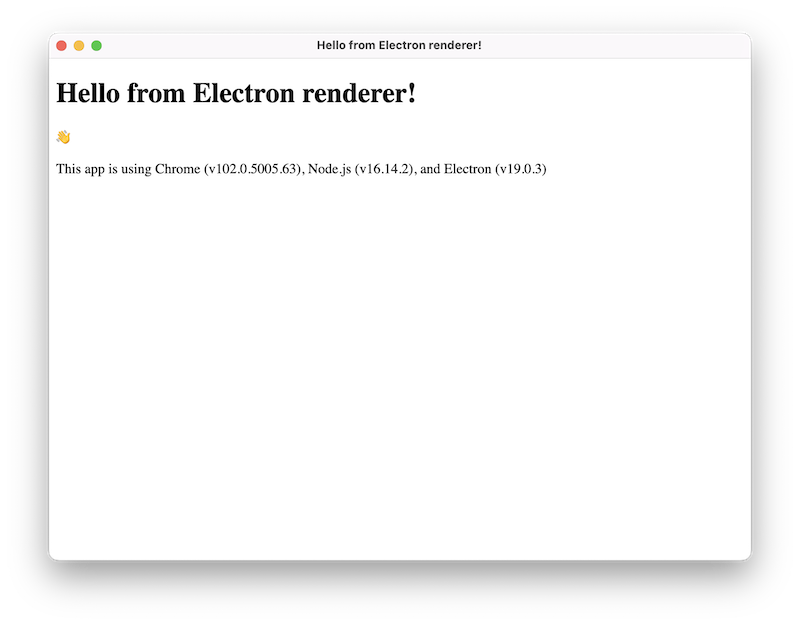
After following the above steps, your app should look something like this:完成上述步骤后,您的应用程序应如下所示:
And the code should look like this:代码应该如下所示:
- main.js
- preload.js
- index.html
- renderer.js
const { app, BrowserWindow } = require('electron');
const path = require('path');

const createWindow = () => {
  const win = new BrowserWindow({
    width: 800,
    height: 600,
    webPreferences: {
      preload: path.join(__dirname, 'preload.js'),
    },
  });

  win.loadFile('index.html');
};

app.whenReady().then(() => {
  createWindow();

  app.on('activate', () => {
    if (BrowserWindow.getAllWindows().length === 0) {
      createWindow();
    }
  });
});

app.on('window-all-closed', () => {
  if (process.platform !== 'darwin') {
    app.quit();
  }
});
const { contextBridge } = require('electron');

contextBridge.exposeInMainWorld('versions', {
  node: () => process.versions.node,
  chrome: () => process.versions.chrome,
  electron: () => process.versions.electron,
});
<!DOCTYPE html>
<html>
  <head>
    <meta charset="UTF-8" />
    <meta
      http-equiv="Content-Security-Policy"
      content="default-src 'self'; script-src 'self'"
    />
    <meta
      http-equiv="X-Content-Security-Policy"
      content="default-src 'self'; script-src 'self'"
    />
    <title>Hello from Electron renderer!</title>
  </head>
  <body>
    <h1>Hello from Electron renderer!</h1>
    <p>👋</p>
    <p id="info"></p>
  </body>
  <script src="./renderer.js"></script>
</html>
const information = document.getElementById('info');
information.innerText = `This app is using Chrome (v${versions.chrome()}), Node.js (v${versions.node()}), and Electron (v${versions.electron()})`;
Communicating between processes进程之间的通信
As we have mentioned above, Electron's main and renderer process have distinct responsibilities and are not interchangeable. 如上所述,Electron的主进程和渲染器进程具有不同的职责,不可互换。This means it is not possible to access the Node.js APIs directly from the renderer process, nor the HTML Document Object Model (DOM) from the main process.这意味着无法直接从渲染器进程访问Node.js API,也无法从主进程访问HTML文档对象模型(DOM)。
The solution for this problem is to use Electron's 这个问题的解决方案是使用Electron的ipcMain and ipcRenderer modules for inter-process communication (IPC). ipcMain和ipcRenderer模块进行进程间通信(IPC)。To send a message from your web page to the main process, you can set up a main process handler with 要将消息从网页发送到主进程,可以使用ipcMain.handle and then expose a function that calls ipcRenderer.invoke to trigger the handler in your preload script.ipcMain.handle设置主进程处理程序,然后公开一个调用ipcRenderer.invoke的函数,以触发预加载脚本中的处理程序。
To illustrate, we will add a global function to the renderer called 为了说明这一点,我们将向渲染器添加一个名为ping() that will return a string from the main process.ping()的全局函数,该函数将从主进程返回一个字符串。
First, set up the 首先,在预加载脚本中设置invoke call in your preload script:invoke:
const { contextBridge, ipcRenderer } = require('electron')

contextBridge.exposeInMainWorld('versions', {
  node: () => process.versions.node,
  chrome: () => process.versions.chrome,
  electron: () => process.versions.electron,
  ping: () => ipcRenderer.invoke('ping'),
  // we can also expose variables, not just functions
})
Notice how we wrap the 请注意,我们如何将ipcRenderer.invoke('ping') call in a helper function rather than expose the ipcRenderer module directly via context bridge. ipcRenderer.invoke('ping')调用包装在帮助函数中,而不是通过上下文桥直接公开IPCrender模块。You never want to directly expose the entire 您绝不希望通过预加载直接公开整个ipcRenderer module via preload. ipcRenderer模块。This would give your renderer the ability to send arbitrary IPC messages to the main process, which becomes a powerful attack vector for malicious code.这将使渲染器能够向主进程发送任意IPC消息,从而成为恶意代码的强大攻击向量。
Then, set up your 然后,在主进程中设置handle listener in the main process. handle侦听器。We do this before loading the HTML file so that the handler is guaranteed to be ready before you send out the 我们在加载HTML文件之前这样做,以确保处理程序在从渲染器发出invoke call from the renderer.invoke调用之前准备就绪。
const { ipcMain } = require('electron')

const createWindow = () => {
  const win = new BrowserWindow({
    width: 800,
    height: 600,
    webPreferences: {
      preload: path.join(__dirname, 'preload.js'),
    },
  })
  ipcMain.handle('ping', () => 'pong')
  win.loadFile('index.html')
}
Once you have the sender and receiver set up, you can now send messages from the renderer to the main process through the 一旦设置了发送者和接收者,现在就可以通过刚才定义的'ping' channel you just defined.'ping'通道将消息从呈现器发送到主进程。
const func = async () => {
  const response = await window.versions.ping()
  console.log(response) // prints out 'pong'
}

func()
For more in-depth explanations on using the 有关使用ipcRenderer and ipcMain modules, check out the full Inter-Process Communication guide.ipcRenderer和ipcMain模块的更深入解释,请参阅完整的进程间通信指南。
Summary小结
A preload script contains code that runs before your web page is loaded into the browser window. 预加载脚本包含在网页加载到浏览器窗口之前运行的代码。It has access to both DOM APIs and Node.js environment, and is often used to expose privileged APIs to the renderer via the 它可以访问DOM API和Node.js环境,并且通常用于通过contextBridge API.contextBridge API向渲染器公开特权API。
Because the main and renderer processes have very different responsibilities, Electron apps often use the preload script to set up inter-process communication (IPC) interfaces to pass arbitrary messages between the two kinds of processes.由于主进程和渲染器进程的职责非常不同,Electron应用程序通常使用预加载脚本来设置进程间通信(IPC)接口,以在两种进程之间传递任意消息。
In the next part of the tutorial, we will be showing you resources on adding more functionality to your app, then teaching you distributing your app to users.在本教程的下一部分,我们将向您展示有关向应用程序添加更多功能的资源,然后教您将应用程序分发给用户。