The Section 2.1.4.2, “Signature Checking Using GnuPG” section describes how to verify MySQL downloads using GPG. 第2.1.4.2节,“使用GnuPG进行签名检查”描述了如何使用GPG验证MySQL下载。That guide also applies to Microsoft Windows, but another option is to use a GUI tool like Gpg4win. 该指南也适用于Microsoft Windows,但另一种选择是使用像Gpg4win这样的GUI工具。You may use a different tool but our examples are based on Gpg4win, and utilize its bundled 您可以使用不同的工具,但示例基于Gpg4win,并使用其捆绑的Kleopatra GUI.Kleopatra GUI。
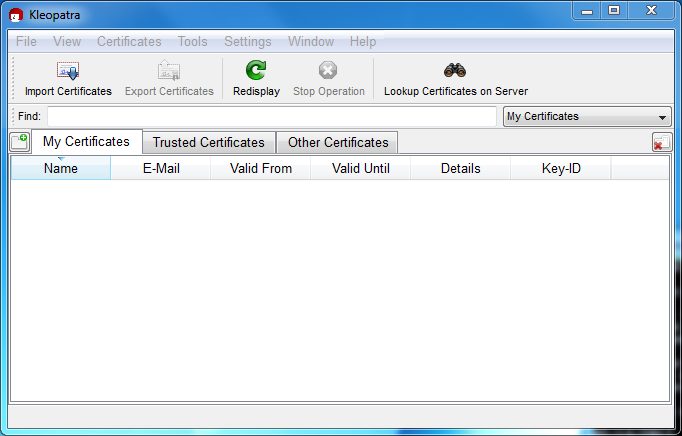
Download and install Gpg4win, and then load Kleopatra. The dialog should look similar to:下载并安装Gpg4win,然后加载Kleopatra。对话框应类似于:
Next, add the MySQL Release Engineering certificate. 接下来,添加MySQL发布工程证书。Do this by clicking , . 请单击“文件”、“在服务器上查找证书”来执行此操作。Type "Mysql Release Engineering" into the search box and press .在搜索框中键入“Mysql Release Engineering”,然后按“搜索”。
Figure 2.2 Kleopatra: Lookup Certificates on Server Wizard: Finding a CertificateKleopatra:在服务器上查找证书向导:查找证书
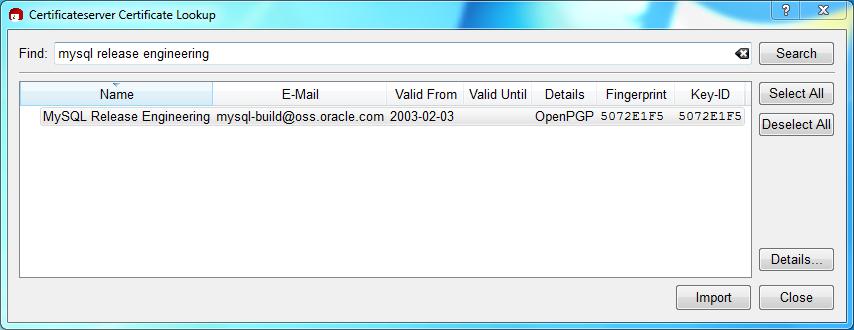
Select the "MySQL Release Engineering" certificate. 选择“MySQL Release Engineering”证书。The Fingerprint and Key-ID must be "5072E1F5", or choose to confirm the certificate is valid. 指纹和密钥ID必须为“5072E1F5”,或者选择“详细信息…”以确认证书有效。Now, import it by clicking . 现在,通过单击“导入”将其导入。When the import dialog is displayed, choose , and this certificate should now be listed under the Imported Certificates tab.当显示导入对话框时,选择“确定”,此证书现在应列在“导入的证书”选项卡下。
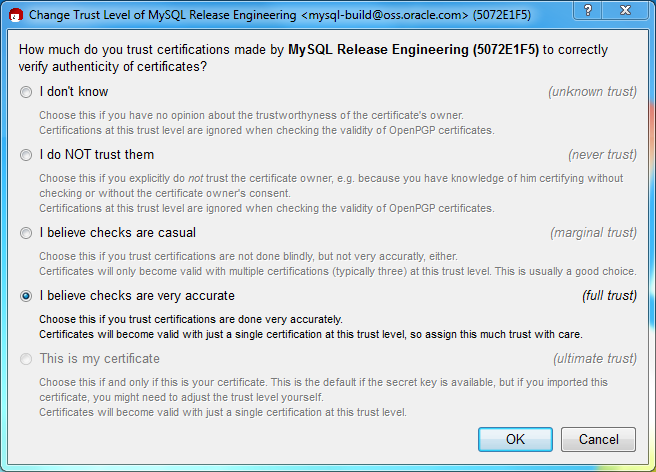
Next, configure the trust level for our certificate. Select our certificate, then from the main menu select , . 接下来,为证书配置信任级别。选择证书,然后从主菜单中选择“证书”、“更改所有者信任…”。We suggest choosing I believe checks are very accurate for our certificate, as otherwise you might not be able to verify our signature. 我们建议选择“我认为支票对证书非常准确”,否则您可能无法验证签名。Select I believe checks are very accurate to enable "full trust" and then press .选择“我认为检查非常准确”以启用“完全信任”,然后按“确定”。
Next, verify the downloaded MySQL package file. This requires files for both the packaged file, and the signature. 接下来,验证下载的MySQL包文件。这需要打包文件和签名的文件。The signature file must have the same name as the packaged file but with an appended 签名文件必须与打包文件具有相同的名称,但附加了.asc extension, as shown by the example in the following table. .asc扩展名,如下表中的示例所示。The signature is linked to on the downloads page for each MySQL product. You must create the 签名链接到每个MySQL产品的下载页面上。您必须使用此签名创建.asc file with this signature..asc文件。
Table 2.2 MySQL Package and Signature Files for MySQL Installer for Microsoft Windows适用于Microsoft Windows的MySQL安装程序的MySQL包和签名文件
mysql-installer-community-8.0.25.msi |
|
| Signature file | mysql-installer-community-8.0.25.msi.asc |
Make sure that both files are stored in the same directory and then run the following command to verify the signature for the distribution file. 确保两个文件都存储在同一目录中,然后运行以下命令验证分发文件的签名。Either drag and drop the signature (将签名(.asc) file into Kleopatra, or load the dialog from , , and then choose either the .msi or .asc file..asc)文件拖放到Kleopatra中,或者从“文件”、“解密/验证文件…”加载对话框,然后选择.msi或.asc文件。

Click to check the file. The two most common results look like the following figure; although the yellow warning may look problematic, the following means that the file check passed with success. You may now run this installer.两个最常见的结果如下图所示;尽管黄色警告看起来可能有问题,但以下表示文件检查成功通过。您现在可以运行此安装程序。
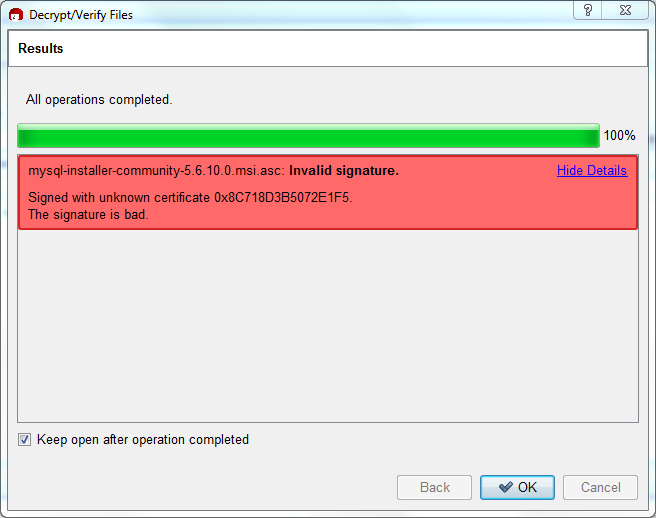
Figure 2.5 Kleopatra: the Decrypt and Verify Results Dialog: All operations completedKleopatra:解密和验证结果对话框:所有操作已完成
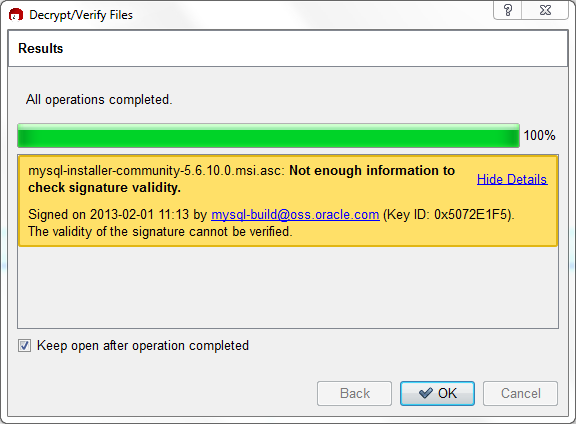
Seeing a red The signature is bad error means the file is invalid. Do not execute the MSI file if you see this error.看到红色“签名错误”表示文件无效。如果看到此错误,请不要执行MSI文件。
The Section 2.1.4.2, “Signature Checking Using GnuPG”, section explains why you do not see a green 第2.1.4.2节,“使用GnuPG进行签名检查”解释了为什么您没有看到绿色的良好签名结果。Good signature result.