Tutorial: Create your first Spring application教程:创建第一个Spring应用程序
This tutorial describes how to create and run a Spring application in IntelliJ IDEA. 本教程介绍如何在IntelliJ IDEA中创建和运行Spring应用程序。It will be a Spring Boot Maven project generated by Spring Initializr. 它将是一个由Spring Initializr生成的Spring BootMaven项目。This is the quickest way to create a Spring application, and IntelliJ IDEA provides a dedicated project wizard for it. 这是创建Spring应用程序的最快方法,IntelliJ IDEA为其提供了一个专用的项目向导。You will learn how to expose an HTTP endpoint and map it to a method that returns a greeting to the user when accessed through a web browser.您将学习如何公开HTTP端点,并将其映射到通过web浏览器访问时向用户返回问候语的方法。
Create a new Spring Boot project创建一个新的Spring启动项目
-
From the main menu, select .从主菜单中,选择“文件”|“新建”|“项目”。 -
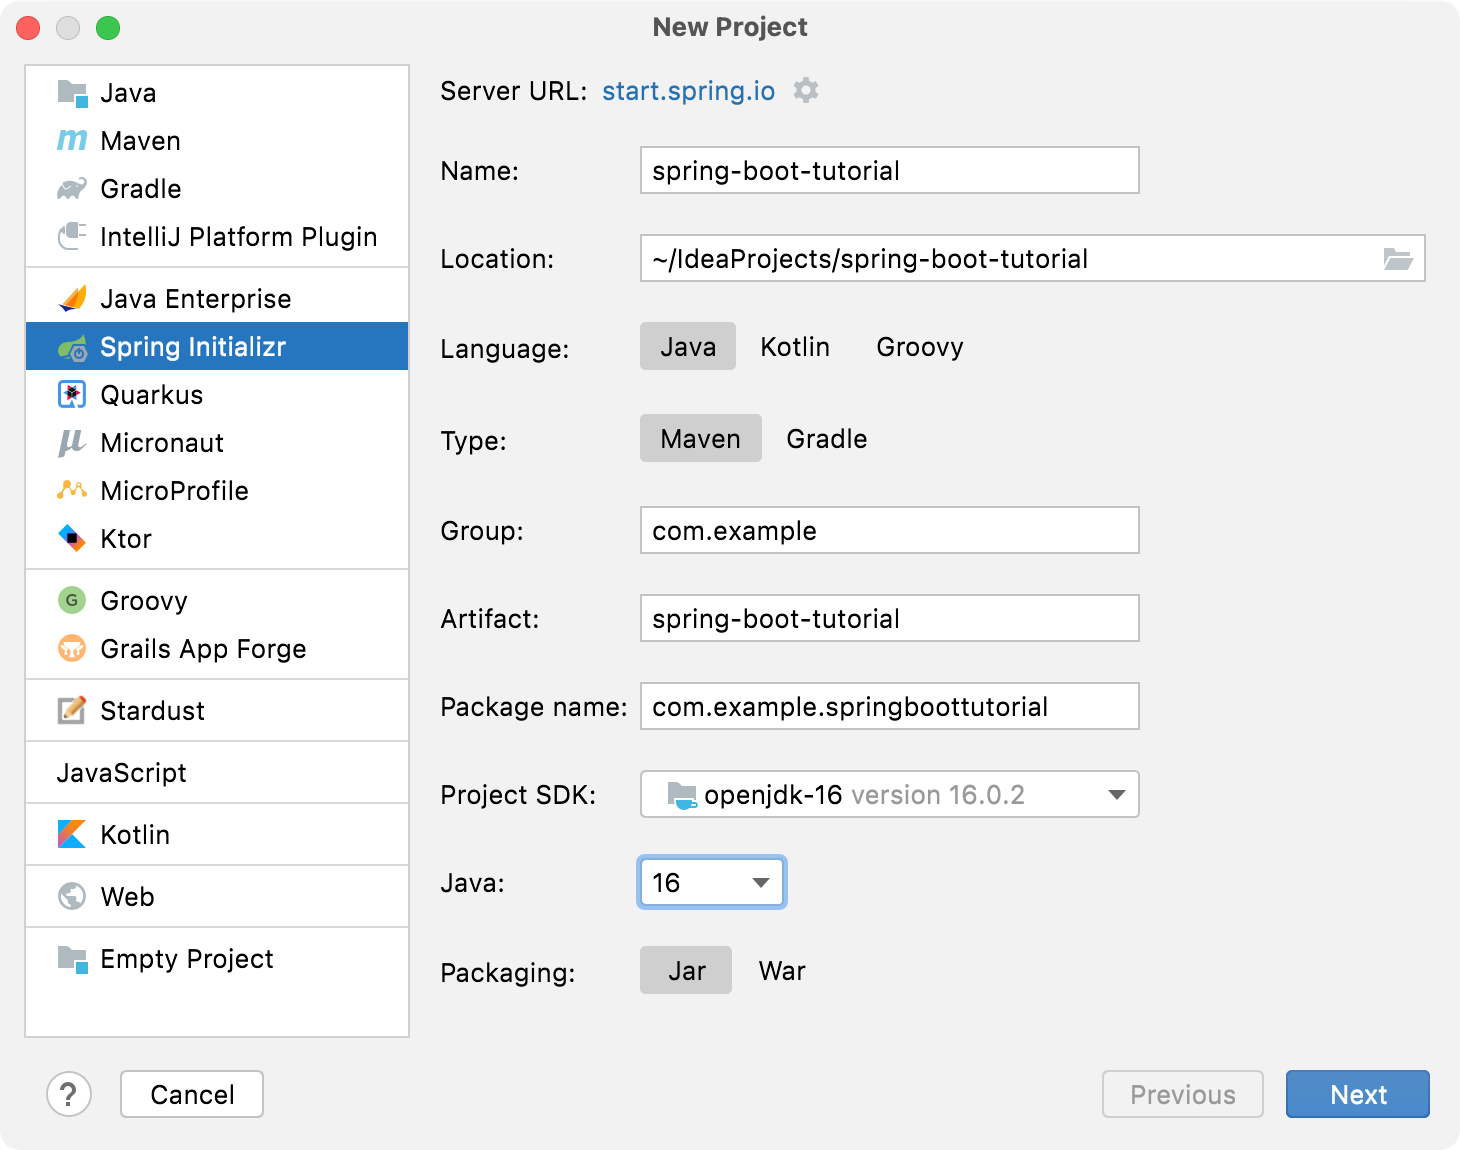
In the left pane of the New Project wizard, select Spring Initializr.在“新建项目”向导的左窗格中,选择“Spring Initializer”。 -
From the Project SDK list, select the JDK that you want to use in your project.从“Project SDK”列表中,选择要在项目中使用的“JDK”。If the JDK is installed on your computer, but not defined in the IDE, select Add JDK and specify the path to the JDK home directory.如果JDK安装在您的计算机上,但未在IDE中定义,请选择Add JDK并指定JDK主目录的路径。If you don't have the necessary JDK on your computer, select Download JDK.如果您的计算机上没有必要的JDK,请选择“下载JDK”。For this tutorial, select the latest available JDK (version 14 or later).对于本教程,请选择最新的可用JDK(版本14或更高版本)。 -
Select the default https://start.spring.io/ service and click Next.
-
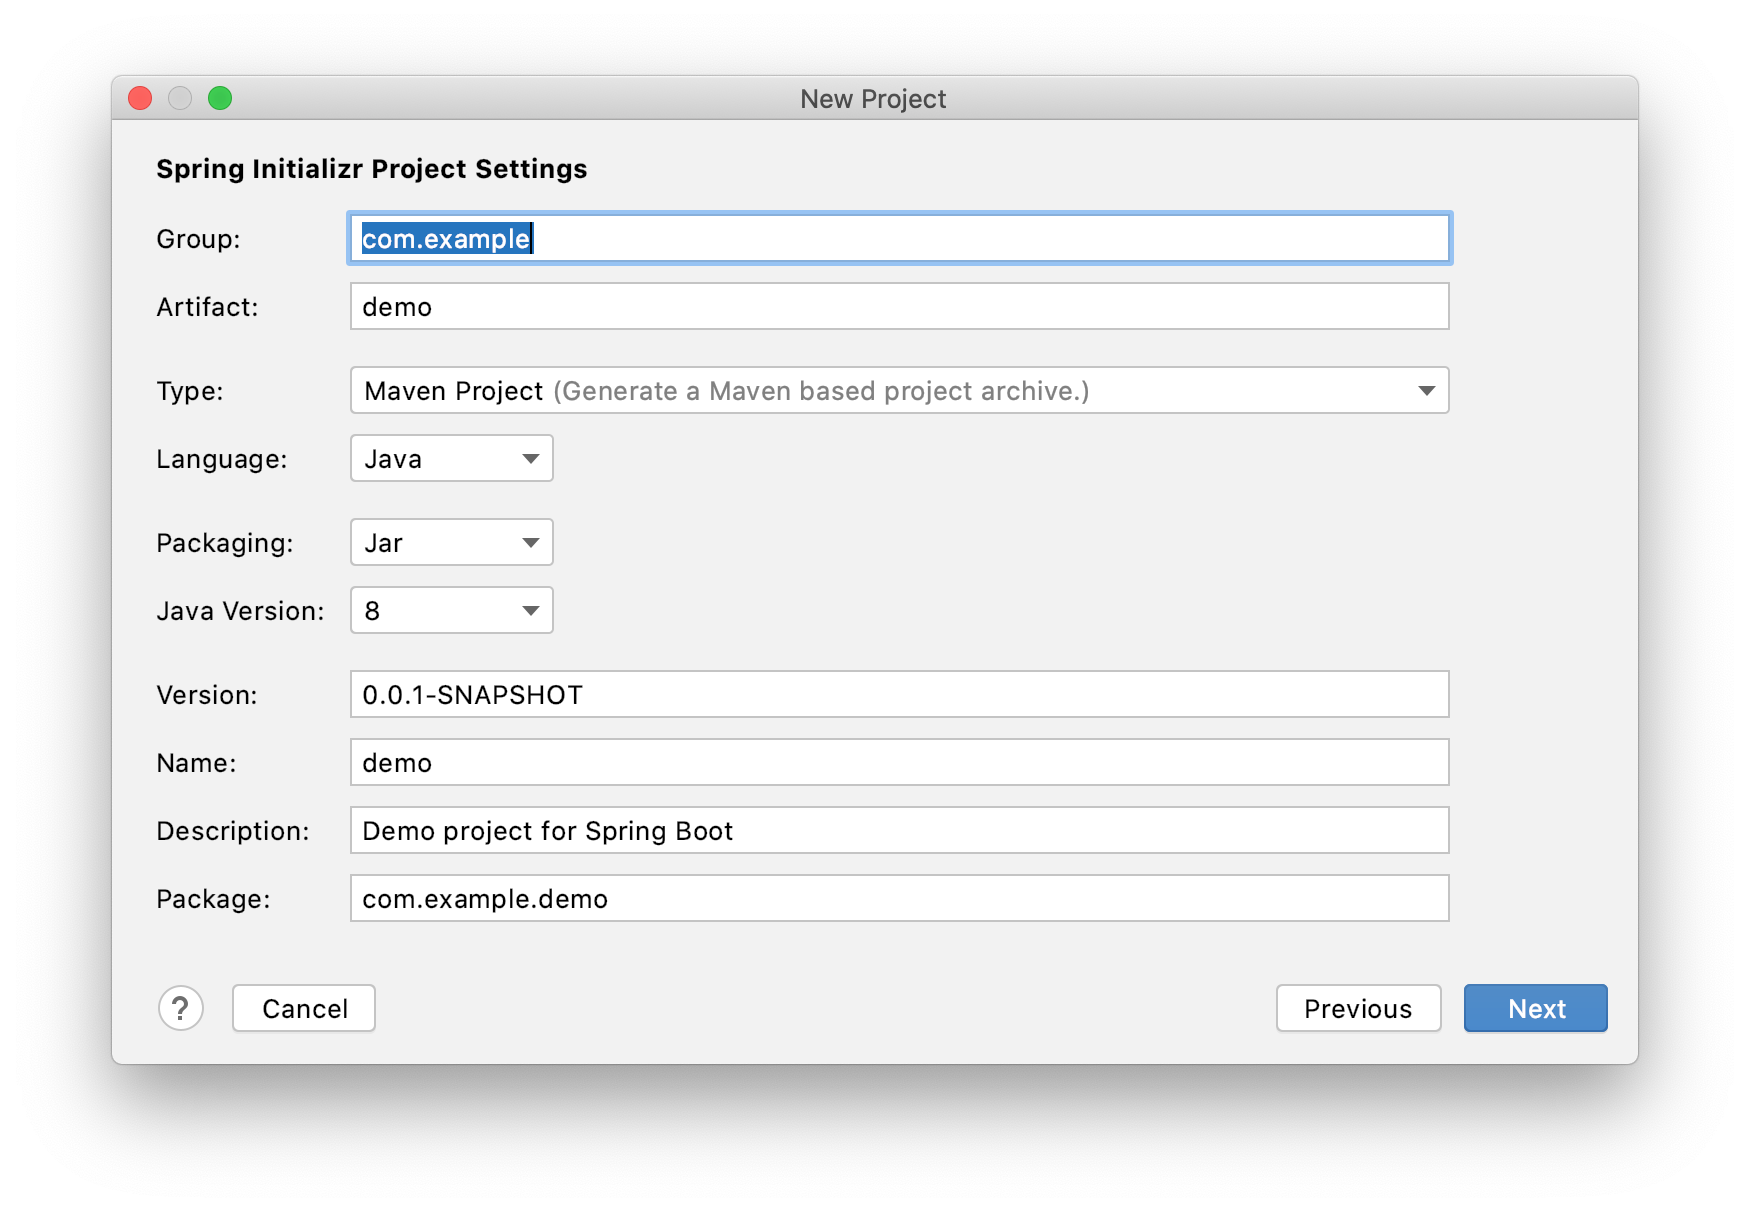
Leave the default project settings and click Next.
-
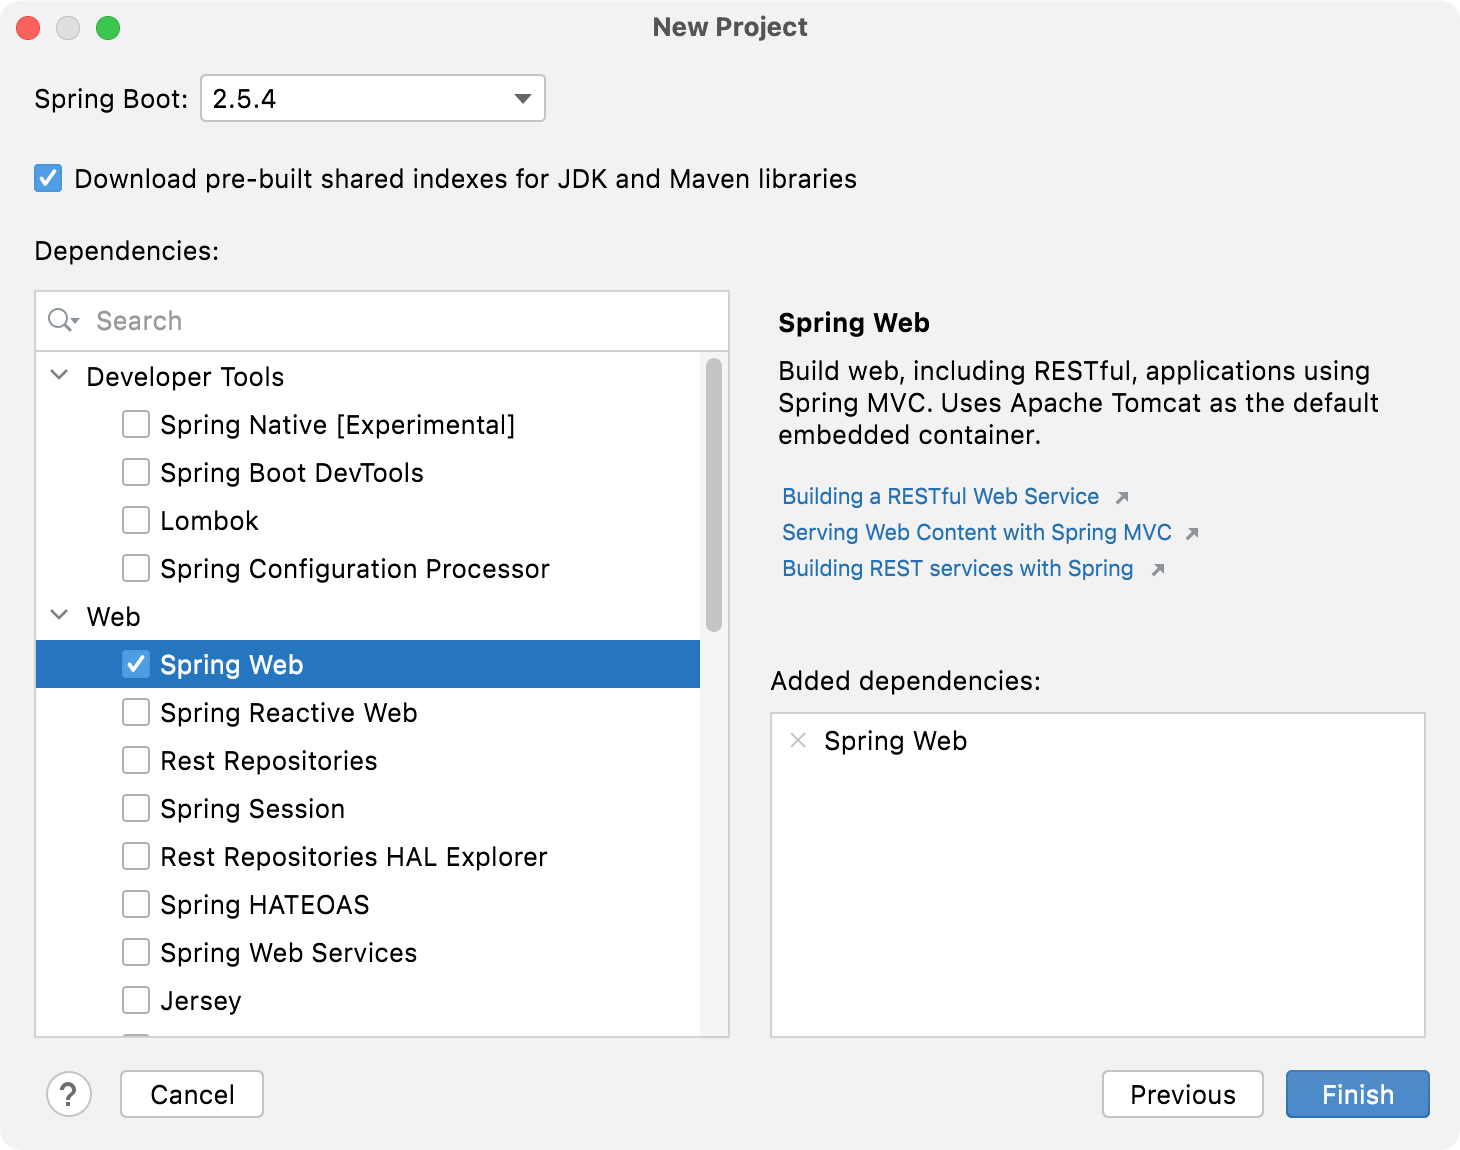
Select the Spring Web dependency under Web and click Next.
This dependency is required for any web application that uses Spring MVC.
-
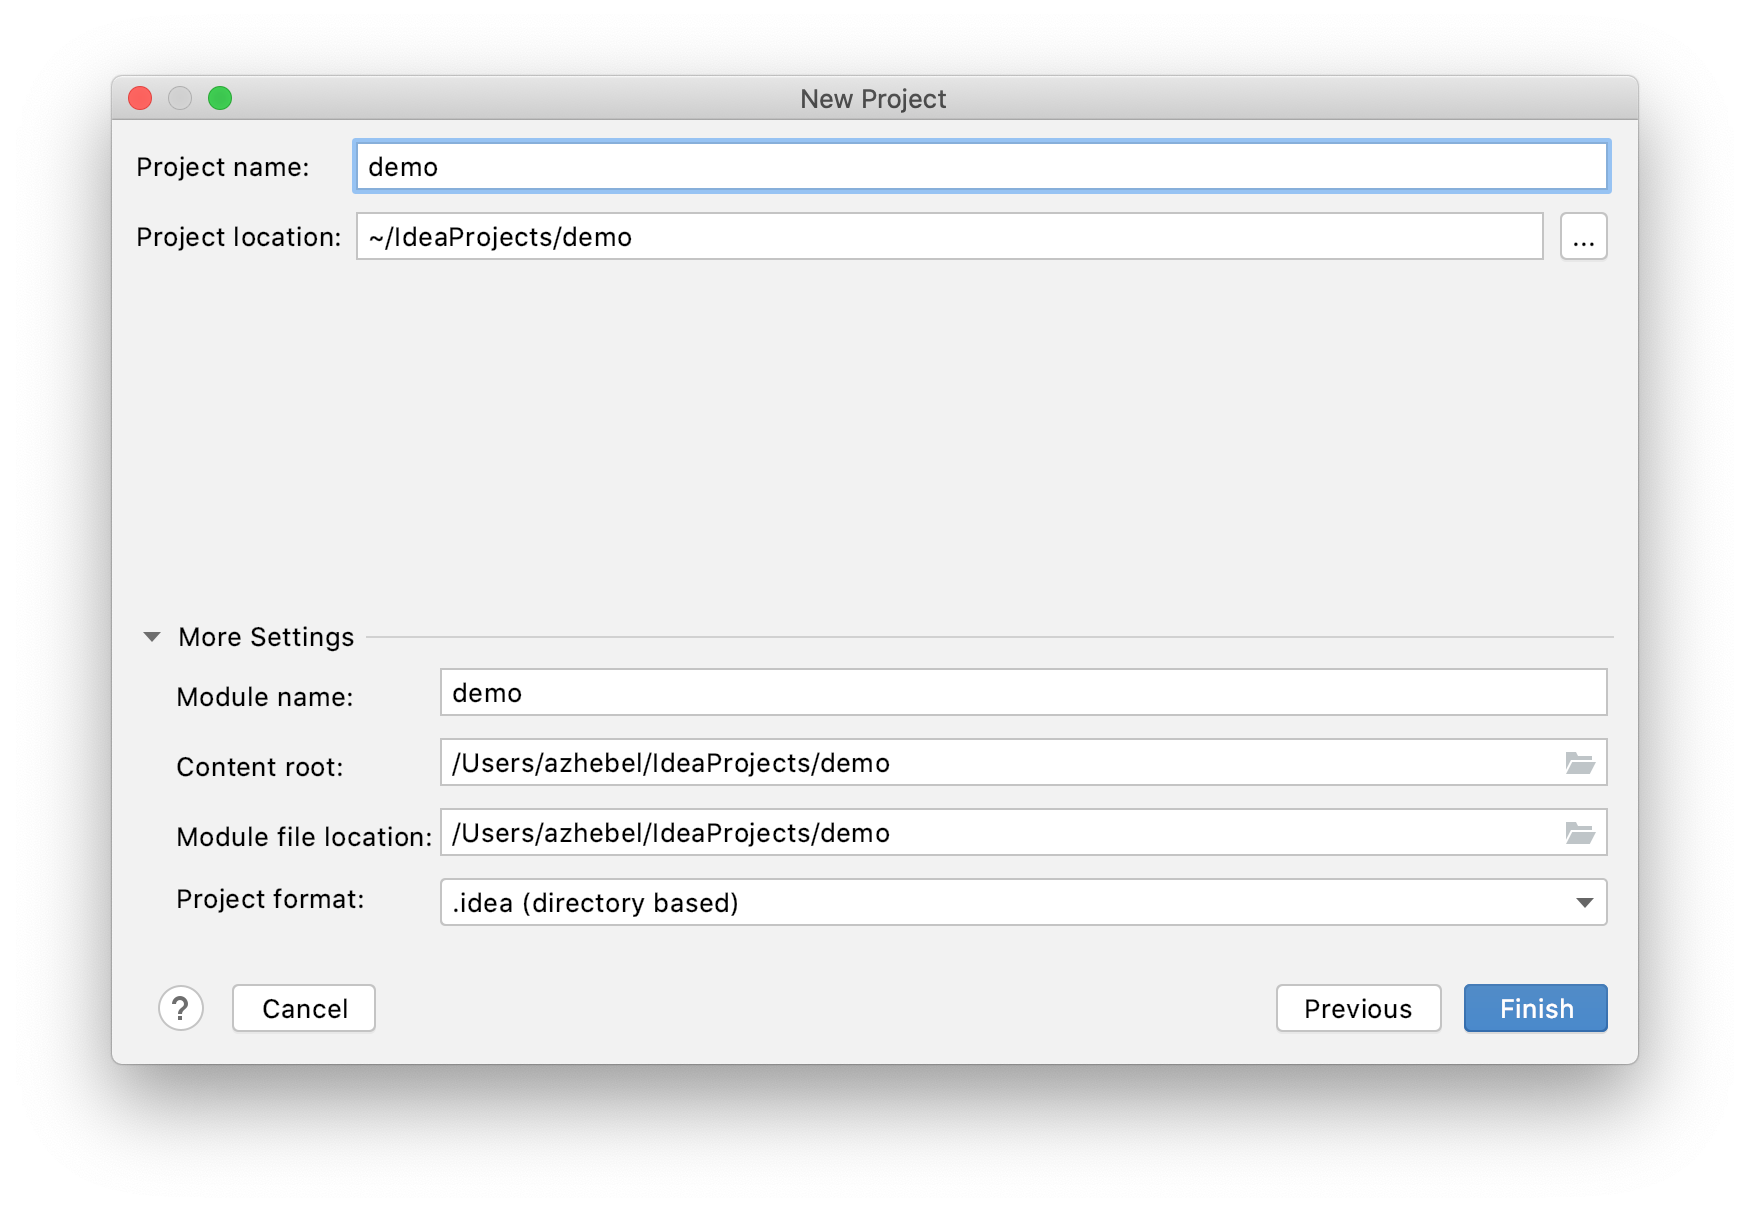
Leave the default project configuration and click Finish.
Add a method that sends a greeting
Spring Initializr creates a class with the main() method to bootstrap your Spring application. In this tutorial, we'll add the sayHello() method directly to this class.
-
Open the DemoApplication.java file under src/main/java/com/example/demo.
IntelliJ IDEA provides the Go to File action to quickly find and open files. From the main menu, select or press Ctrl+Shift+N, start typing the name of the file and select it from the list.
-
Add the
sayHello()method and the necessary annotations so that the file looks like this:package com.example.demo; import org.springframework.boot.SpringApplication; import org.springframework.boot.autoconfigure.SpringBootApplication; import org.springframework.web.bind.annotation.GetMapping; import org.springframework.web.bind.annotation.RequestParam; import org.springframework.web.bind.annotation.RestController; @SpringBootApplication @RestController public class DemoApplication { public static void main(String[] args) { SpringApplication.run(DemoApplication.class, args); } @GetMapping("/hello") public String sayHello(@RequestParam(value = "myName", defaultValue = "World") String name) { return String.format("Hello %s!", name); } }The
sayHello()method takes thenameparameter and returns the wordHellocombined with the parameter value. Everything else is handled by adding Spring annotations:-
The
@RestControllerannotation marks theDemoApplicationclass as a request handler (a REST controller). -
The
@GetMapping("/hello")annotation maps thesayHello()method to GET requests for/hello. -
The
@RequestParamannotation maps thenamemethod parameter to themyNameweb request parameter. If you don't provide themyNameparameter in your web request, it will default toWorld.
-
Run your Spring application
IntelliJ IDEA creates a Spring Boot run configuration that you can use to run your new Spring application. It should be selected by default, so you can press Shift+F10. You can also use the icon in the gutter of the DemoApplication.java file next to the class declaration or the
main() method declaration.
By default, IntelliJ IDEA shows your running Spring Boot application in the Run tool window.

The Console tab shows the output of Spring log messages. By default, the built-in Apache Tomcat server is listening on port 8080. Open your web browser and go to http://localhost:8080/hello. If you did everything right, you should see your application respond with Hello World!.
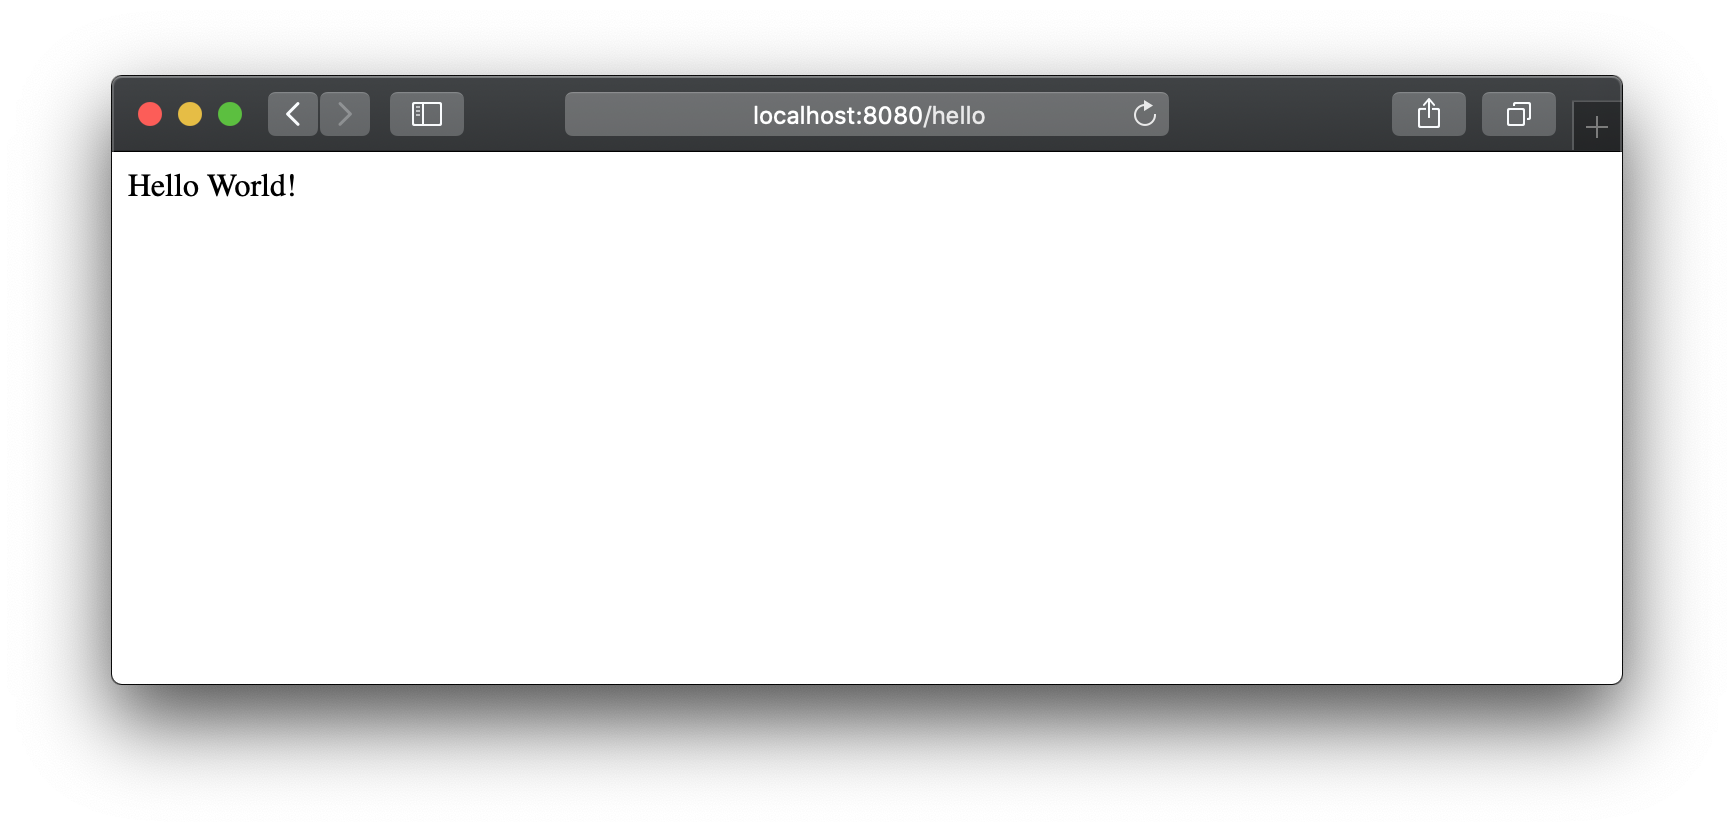
This is the default generic response. You can provide a parameter in your web request to let the application know how to greet you properly. For example, try http://localhost:8080/hello?myName=Human.
Add a home page
The created Spring Boot application has one endpoint available at /hello. However, if you open the root context of your application at http://localhost:8080/, you will get an error because there is no root resource defined. Let's add a static HTML home page with links to your endpoint.
-
Create the index.html file under /src/main/resources/static/.
In the Project tool window, right-click the /src/main/resources/static/ directory, select New | HTML File, specify the name index.html, and press Enter.
-
Modify the default template or replace it with the following HTML code:
<!DOCTYPE HTML> <html> <head> <title>You first Spring application</title> <meta http-equiv="Content-Type" content="text/html; charset=UTF-8" /> </head> <body> <p><a href="/hello">Greet the world!</a></p> <form action="/hello" method="GET" id="nameForm"> <div> <label for="nameField">How should the app call you?</label> <input name="myName" id="nameField"> <button>Greet me!</button> </div> </form> </body> </html> -
Click
or press Shift+F10 to restart your Spring application.
Now your application will serve index.html as the root resource at http://localhost:8080/.
What next?
This simple application demonstrates how to get started with Spring. To learn how IntelliJ IDEA helps you write your code and manage the application at runtime, see the next tutorial, which focuses on more advanced Spring support features.